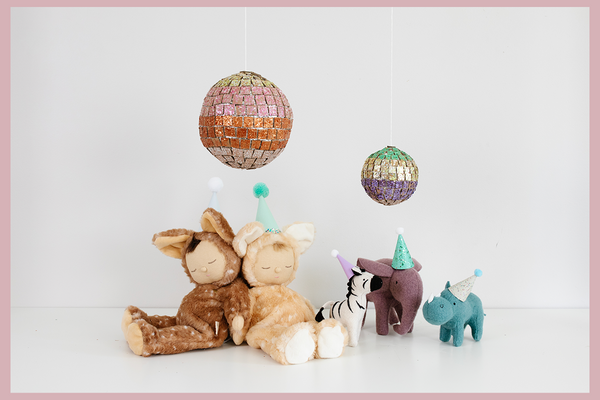
🎶 Let the countdown to 2023 begin! We've teamed up with Cardboard Folk and The Glitter Tribe to create our very own DIY disco ball to move and groove into the new year! Fancy making your own? Read on for step-by-step instructions to sparkle your way into the New Year!
~
It’s craft time!

.
-
 01Create ball shape
Create a sphere by scrunching up left over wrapping paper into a ball shape. Layer pieces of paper over each other until you’re happy with the size of your ball, we made ours around 16cm in diameter to suit our Cozy Dinkums, and 8cm in diameter to suit our Holdie Animals. -
 02Wrap tight
For the final layer of your ball, wrap it tightly with aluminium foil. This will keep the paper in place and also give you a nice shiny base to work with. -
 03Add sparkles
Take the scrap cardboard and use an old paintbrush to cover it in white glue. Sprinkle generously with Bio Glitter and shake off the excess. Repeat for as many colours as you plan to use. -
 04Create your square tiles
Cut the cardboard into small squares with a pair of sharp scissors or a box cutter. We used a pencil and ruler to get the squares the same size, approximately 1.5cm for our large Cozy Dinkum sized disco ball and 1cm for our small Holdie sized disco ball. -
 05Trace and place
Use a round object to trace a circle onto the ball with a black marker, this will give you a guideline to start setting out your cardboard glitter squares. -
 06Glue down your squares
Glue your glittery squares onto the ball with a hot glue gun (ask an adult to help!). Work around the ball in bands, changing colours to suit your design, until the ball is covered in a mosaic of square tiles. Leave a space for the final tile at the top, that's where your string will go to hang the ball.
-
 07Attach the string
To attach the string, take one of the squares and poke a hole in it. Thread the string through the hole and tie a knot in the end to keep it in place, then anchor the square and knot to the disco ball with hot glue.
-
 08Lets boogy!
Give your special friends some party hats, hang your disco ball and get ready to ring in the new year!
 Welcome to Olli Ella!


