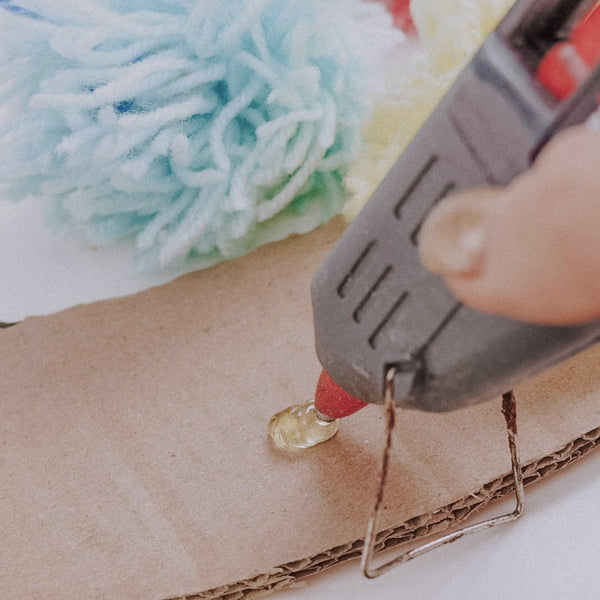
This Christmas, we decided to put a twist on an old Chrissy classic and put together a fun, fluffy and family-friendly Pom Pom Wreath that you can easily recreate with your kids at home!
~-
 01 You will Need
Pom Poms! Big ones, small ones, home-made or store-bought - any old Pom Pom will do! Cardboard - We used an old recycled box. Just be sure it's sturdy enough to hold on to your poms! A texta, hot glue-gun, glue sticks and scissors. -
 02 Draw your Circle
Using your marker, draw a large circle onto some cardboard and a smaller circle in the centre, kind of like a giant donut! It doesn’t have to be perfect and it can be as big or little as you like! -
 03 Get Cutting
Once you cut the shape, this will become the base that your Pom Poms will stick to. -
 04 Stick It
Heat up your glue gun and begin attaching your Pom Poms, making sure to be extra careful not to touch the hot glue. -
 05 Stack Them
Continue sticking the poms to the cardboard surface, stacking them extra close together and leaving no gaps. -
 06 Done!
Once your wreath is completely covered, double check that no Pom Poms are coming loose. If they are, simply re-stick with more glue. Now it's complete!

 Welcome to Olli Ella!


 01 You will Need
  02 Draw your Circle
 03 Get Cutting
 04 Stick It
  05 Stack Them
 06 Done!